Elegant Flooring in Austin for the Spaces that Matter
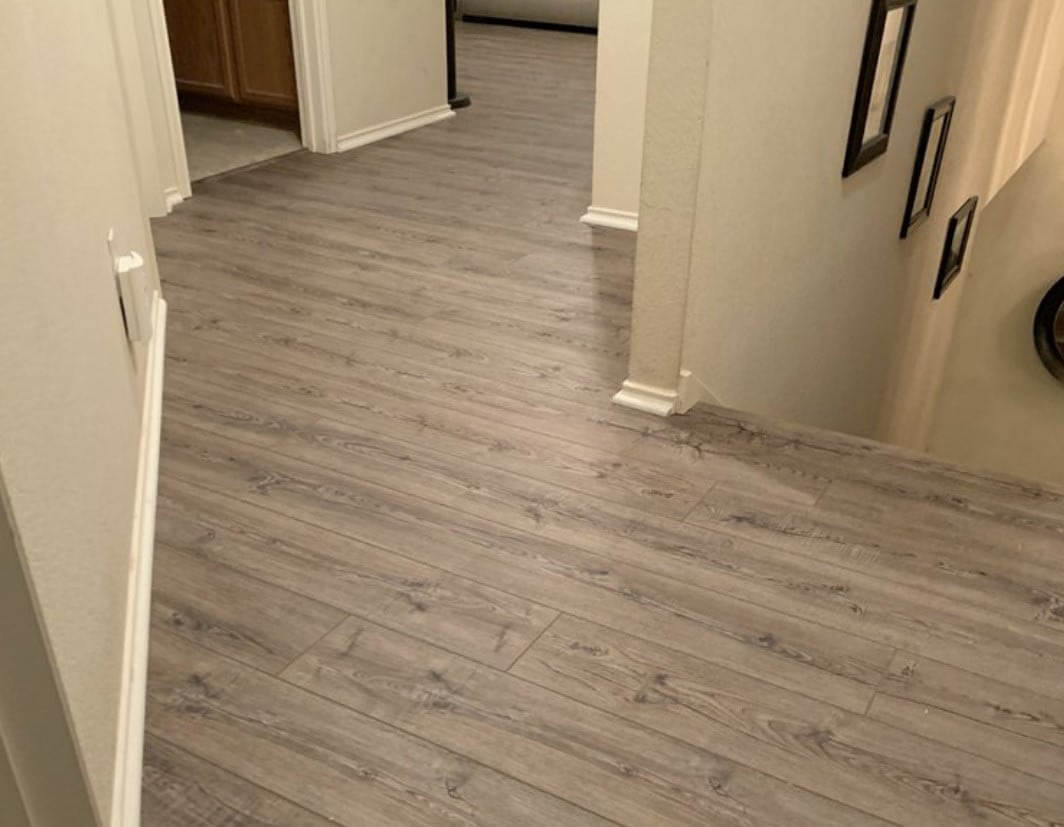
Luxury vinyl plank floors, laminate and hardwoods in Austin, TX
Try Floor Visualizer Book Free Estimate
Eco Safe Pet-Friendly Flooring Installed
Keep your pets and everyone else safe in your space with our Green Guard flooring product installations
Try Floor Visualizer Book Free Estimate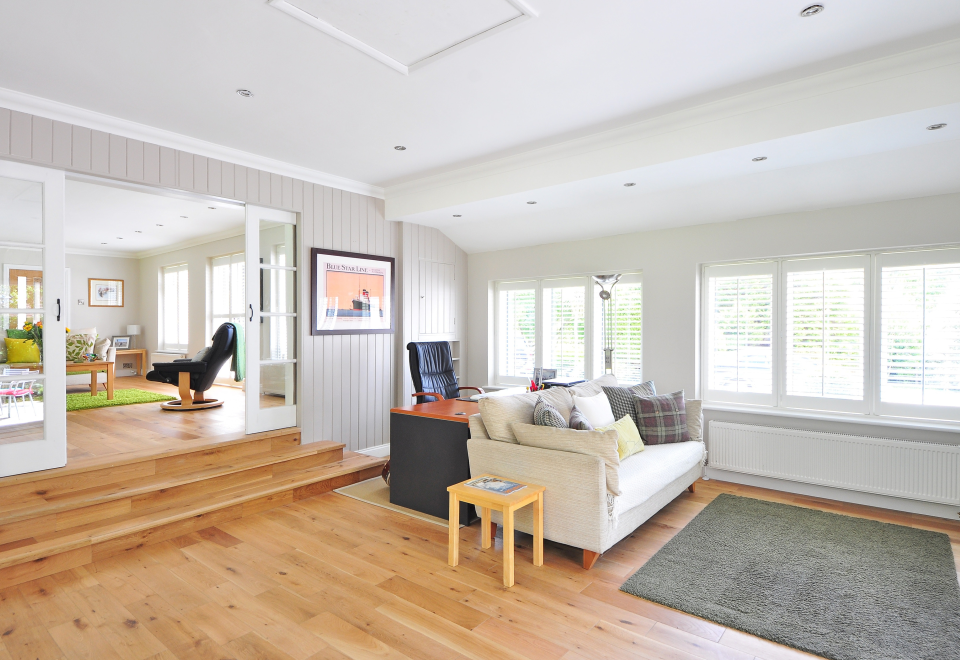
Master Craft Custom Solid Wood Floor Specialists
Get unbeatable opportunities and amazing customer support on every flooring we install. We install naildown, glue down or floating laminate floors.
Try Floor Visualizer
Book Free Estimate
Find the perfect Flooring for your Space, in just a few clicks
Try out our Floor Visualizer app on your phone to see for yourself which of our flooring would fit your space
Try Floor VisualizerPreparation is our trademark.
Preparation is our trademark, see how.
What We Offer
The Latest Product
Styles
Don’t miss out on current flooring styles, classic looks and updated colors that are durable, waterproof, pet friendly and long lasting.
Lifetime-Guarantee
Flooring
Get a custom hardwood, or vinyl plank installation soon as tomorrow and enjoy luxury floors for years to come. Be safe knowing the flooring contractor install is guaranteed.
Get Precise Custom
Estimates
Know what your project will cost, up front with no hidden fees. Mention this offer for a First Time Customer Discount.
Get Floors in 3 easy steps
Get Inspired
See your possibilities by searching through hundreds of floor products and pick out some favorites
Schedule a free appointment
When you have chosen your favorites schedule of free appointment to start the process of making it happen.
We will guide you through
With in days your dream floors will become a reality topped with our lifetime guarantee
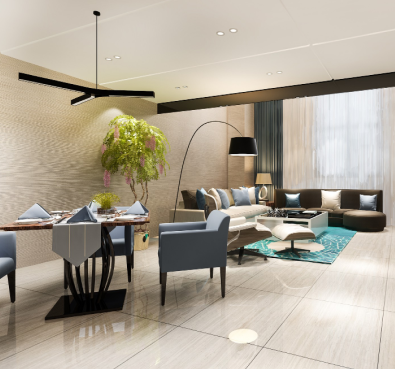
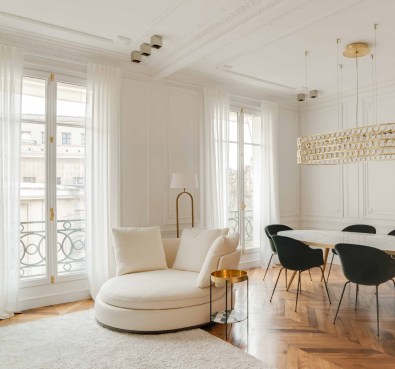
Choose from a wide range of looks
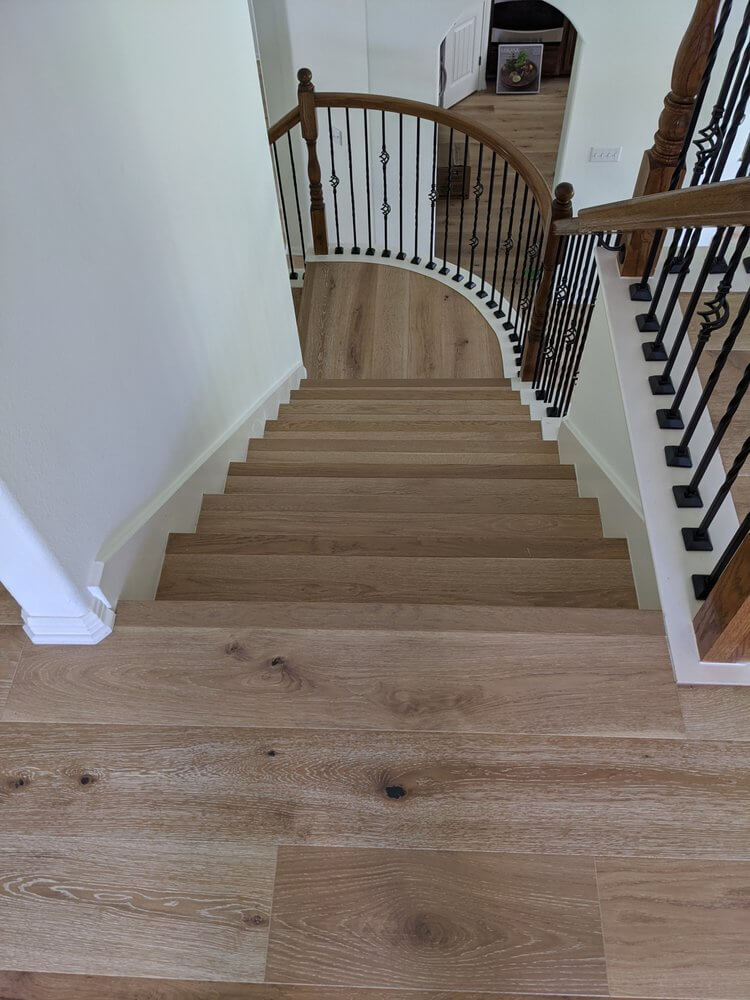
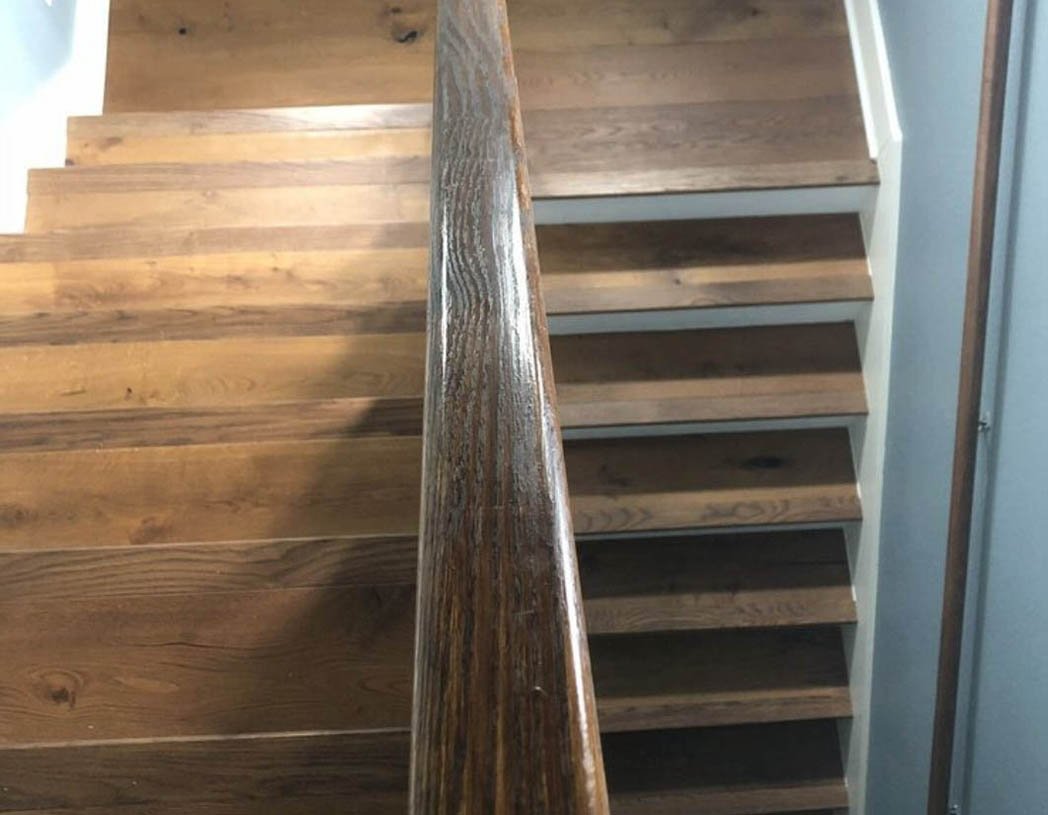
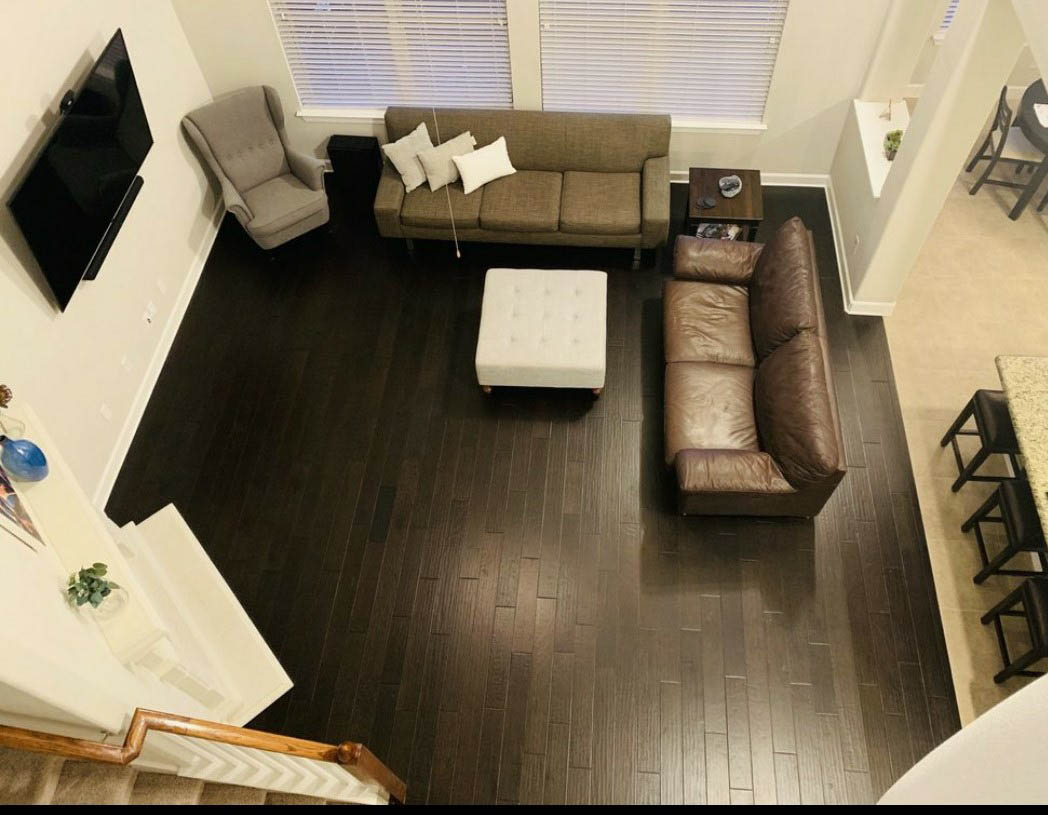
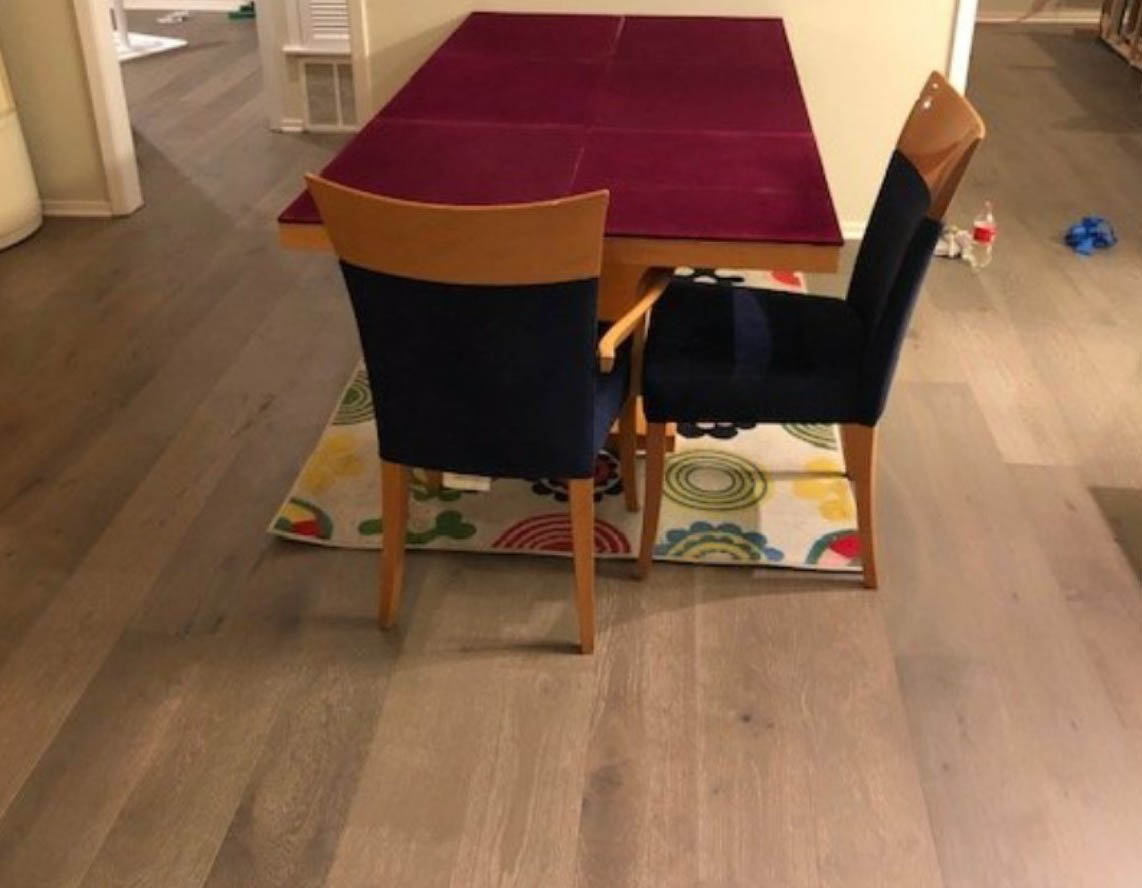
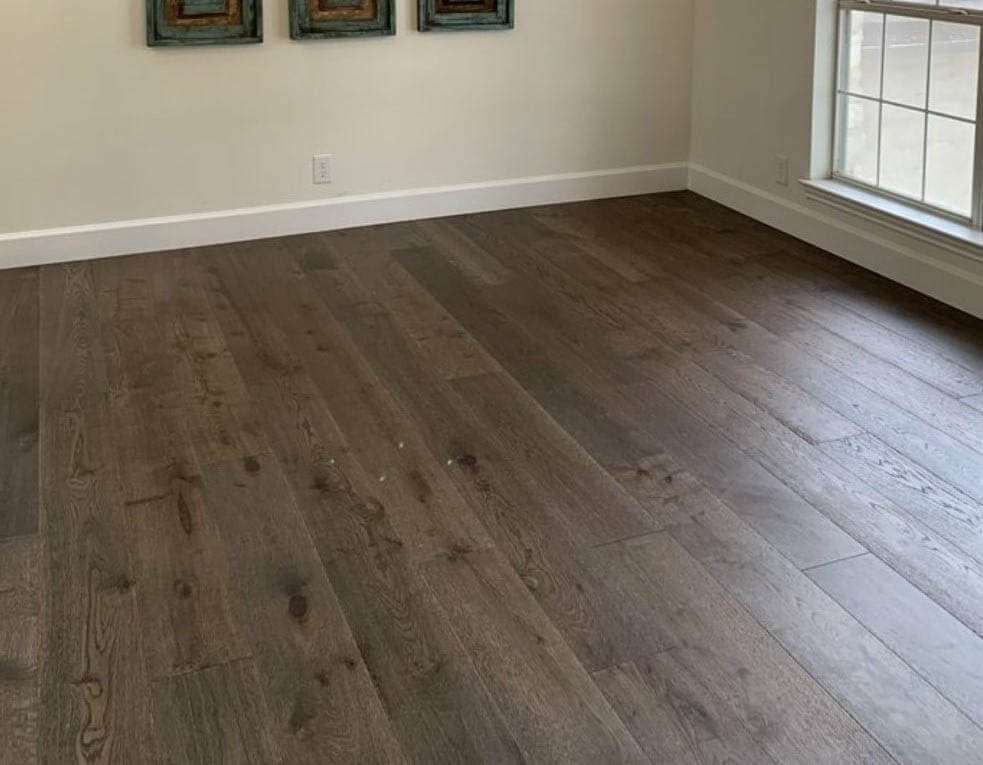
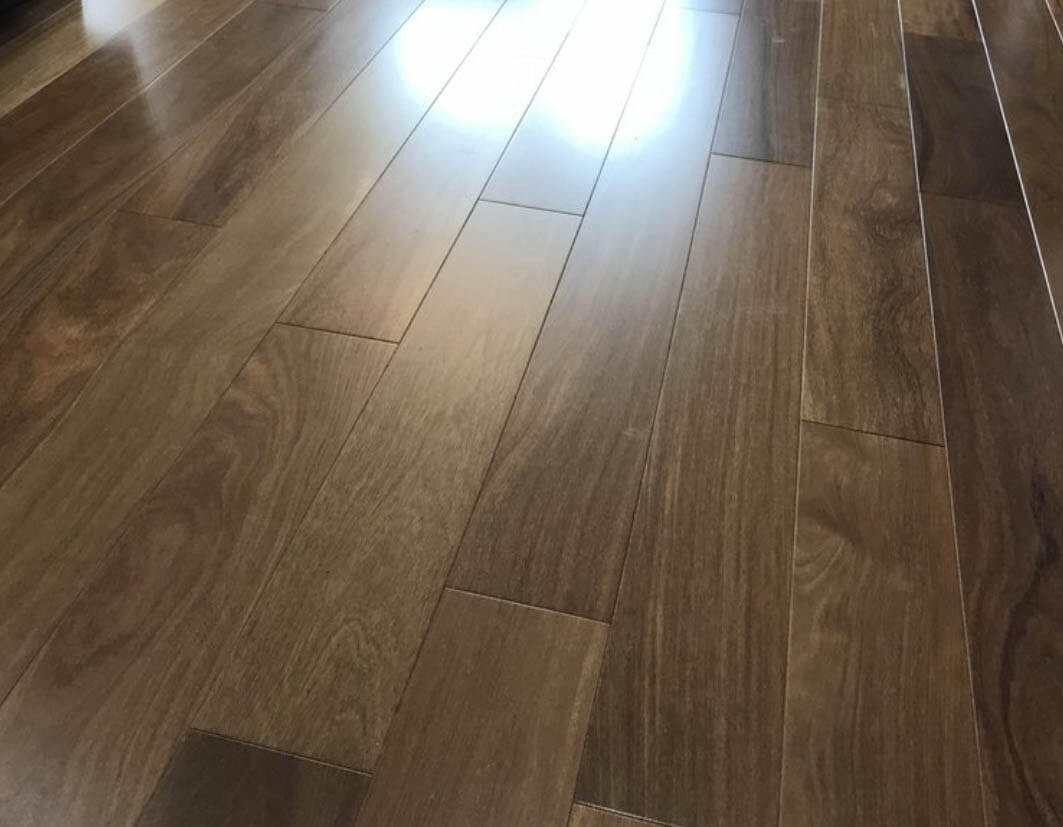
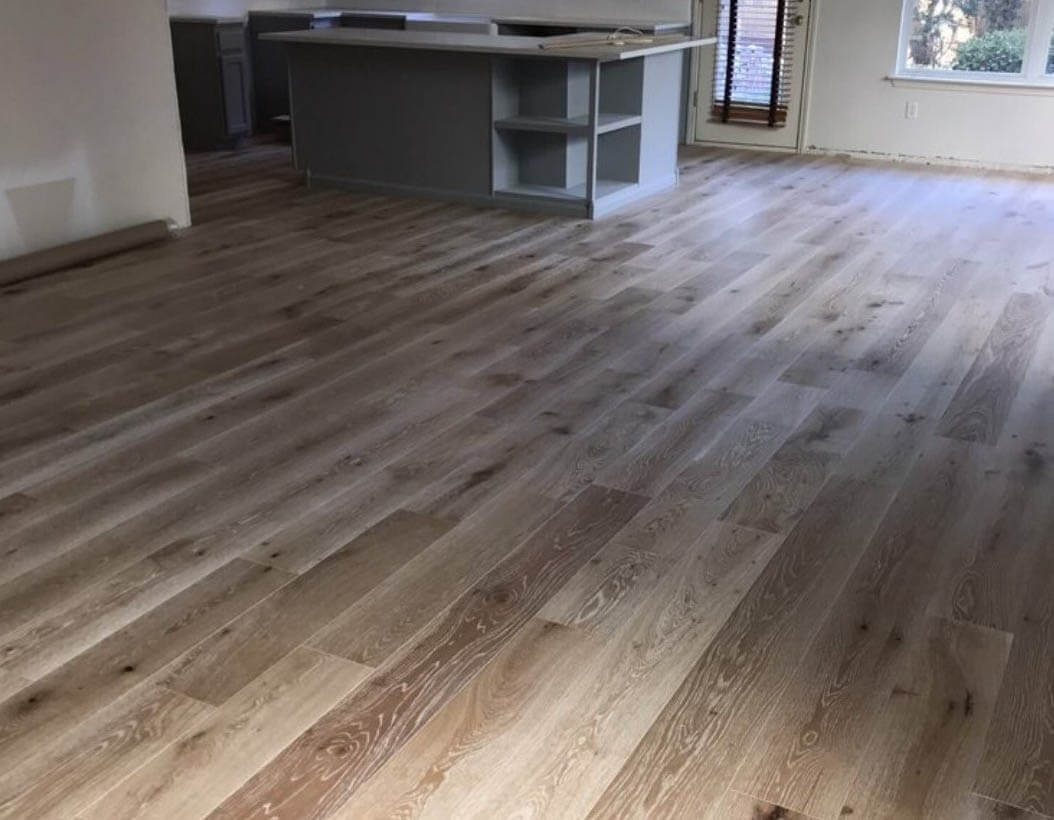
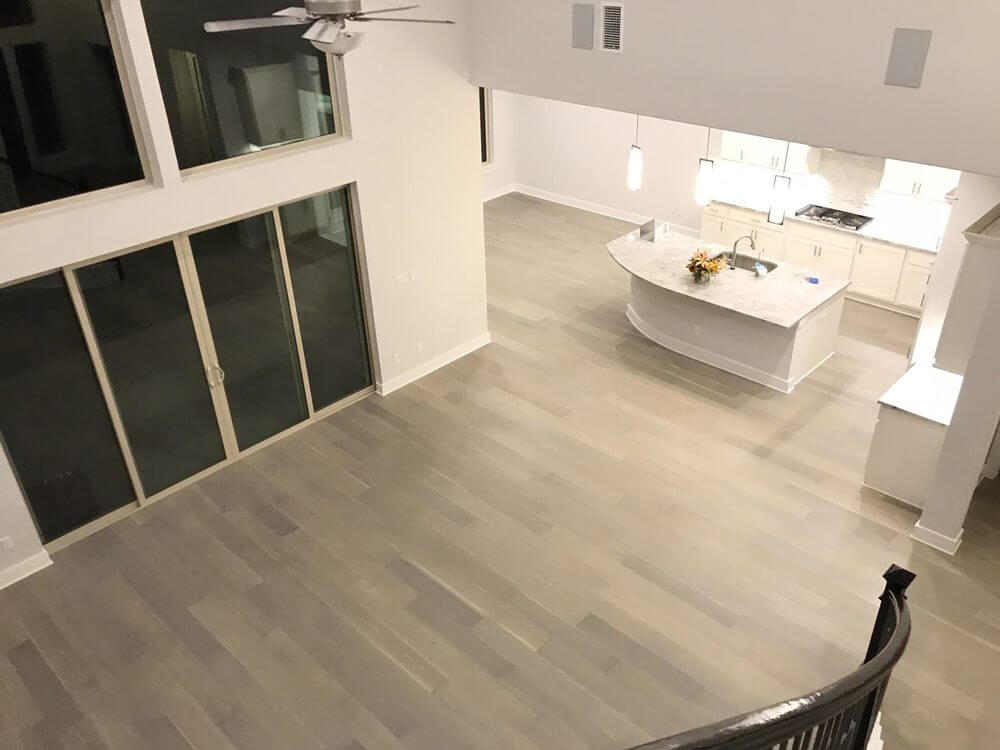
Hardwood Flooring
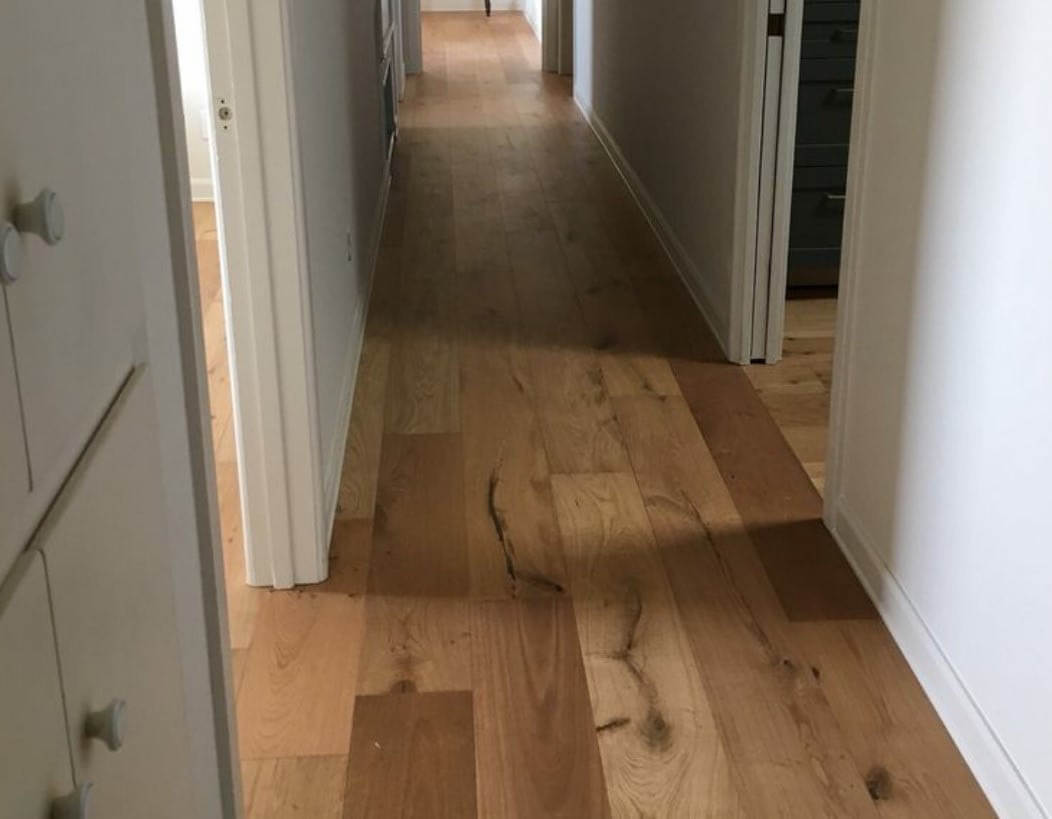
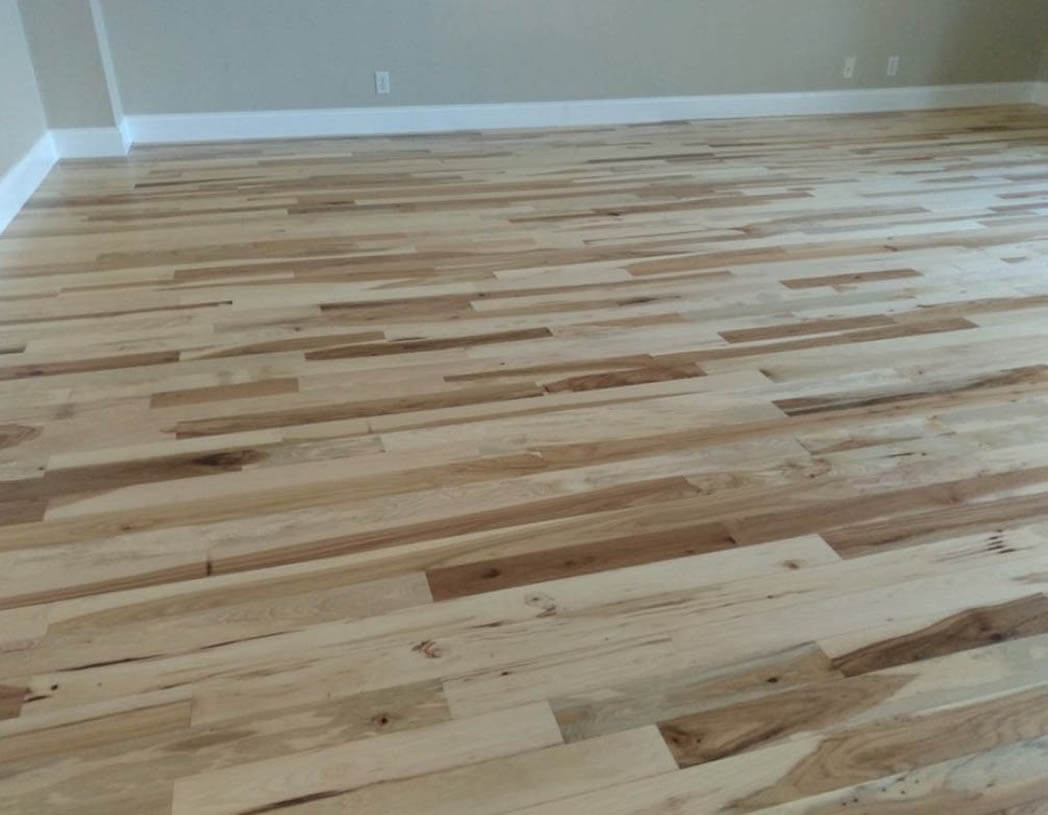
We stock engineered hardwood, real solid wood floors, European Oak wide planks, and all the latest designer styles.
View Hardwood FlooringVinyl-Plank Flooring
Stock LVP Luxury Vinyl plank floor that is waterproof and pet friendly. Our 3D print products look just like real wood. Discover the latest styles.
View Vinyl FloorsTile Flooring
We can connect you with top quality porcelain, ceramic, and stone tile. Hundreds of mosaics and backsplash flooring wall tile for kitchen and bathrooms.
View Tile FlooringFlooring Made Easy in Austin
Flooring by Need
Find out what floors work best for your lifestyle (pets, kids, durable, eco-friendly).
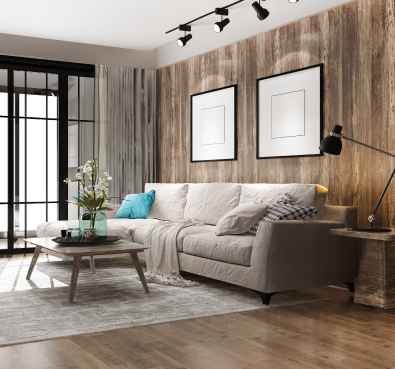
Flooring by Room
Choose the right color and type of floor for your kitchen, bathrooms, dining room, and more.


Don’t take our word for it
We learned about Austin Hardwood flooring from the store we purchased our flooring materials. We were very happy with the price and job team did. They finished the job a day ahead of schedule. They even helped us put the items back to orignal place in out home which was awsome!

Ruby Z.

Matt and his team did a great job installing floors in my new home. The team was professional and completed the job in 3 days.

Sridhar K.
We shopped around with 4 companies for quotes to redo our floors in the entire house. Matt came over, did some measurements and got the quote to us very quickly. He was very upfront with the timing and the costs, and gave us the best price of all the quotes. Him and his team, Eddie and Arnoldo,

Jonny B.
Austin hardwood floors installed engineered hardwood floors in our upstairs hallway, bedroom and on the stairs. Matt is very knowledgeable and available to answer any question along the way. I would highly recommend this company to install floors.

Alaine G.
don't usually leave Yelp reviews but I was absolutely floored by the spectacular job that Matt and his team did with our floor. The pricing was extremeley competitive and it included EVERYTHING.

Alex H.
Austin hardwood flooring did our floors as part of a house refresh. The floors look amazing and are so beautiful. From start to finish the crew was very efficient. They respected our belongings, kept their equipments cleaned up each day.We are really pleased with our new floors.

Allen W.
Matt and his crew are truly talented experts. I lost sleep over a few spots that were going to be tough in matching up the flow of engineered hardwood installed recently in the last room of the house.
C G
I love my new floors! Selecting the engineered wood took 4 months to decide. But choosing Matt Garcia and Austin Flooring was easiest choice, I am beyond pleased with AFH's work. Matt was prompt, responsive, extremely knowledgeable and competitively priced.

Cheryl O.
Matt's team did a good job installing our floor with nail down, fast responsive and finish time, crew was polite and friendly.

Guo Y.
Can't say enough good things about the tile guy. We have used them three saperate times for engineered hardwood, kitchen backsplash, vinyl floors in our master bath, Great prices and very helpful recommending the right product given and space the space and circumstances.

Hallie P.
I would highly recomment Austin Hardwood Flooring. They just finished installing 2700sf of engineered Barazilian Teak.The price was competitive and installation top-notch. The entire project was finished in four and a half days. The crew was courteous and professional, and showed up early every day.

Jose Maria R.
Renovating can be very stressful but rest assured you have you floors coverd with Austin Hardwood flooring! Anthony was very flexible in working with schedule.Matt and his crew were so professional. They were on time and completed the job exactly on scheduled.I would go with them again!

Kaity S.
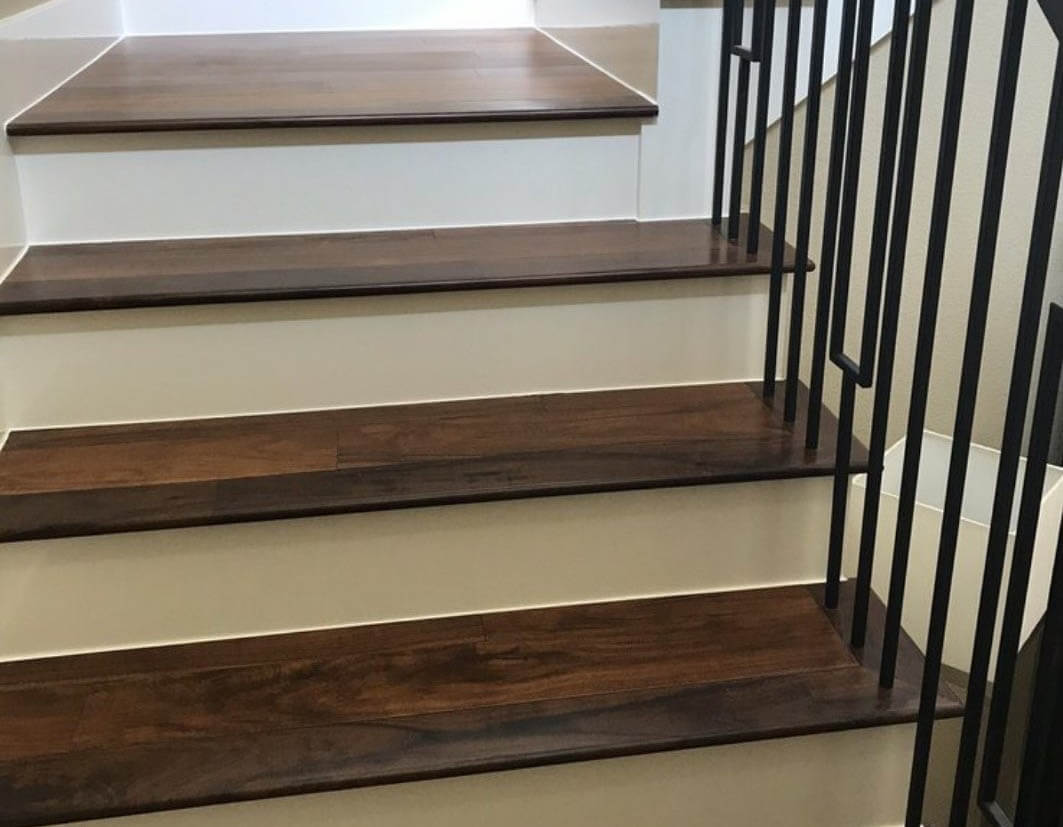
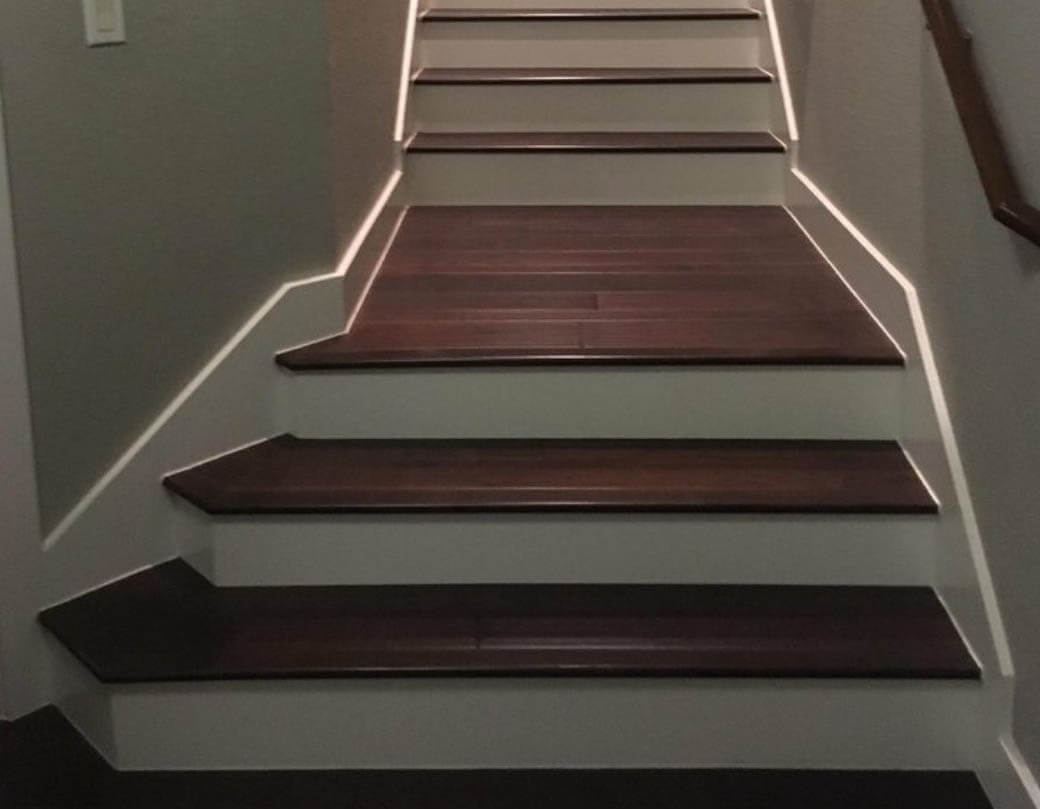
Matt and his team did an outstanding job for me! I'm crazy about my new floors and so appreciative of the meticulous job they did.I also got my stairs remodeled at same time so Matt and Manuel made sure the risers were done correctly. I highly Recommended them!

Lorrie M.
att was referred to me by my friend. I have recieved price qoutes from multiple vendors and his price was very reasonable compared to others. He did an amazing job with engineered hardwood flooring installation. He covered about 2300 sq.ft of flooring.Happy customer :-)

Prishanthy W.
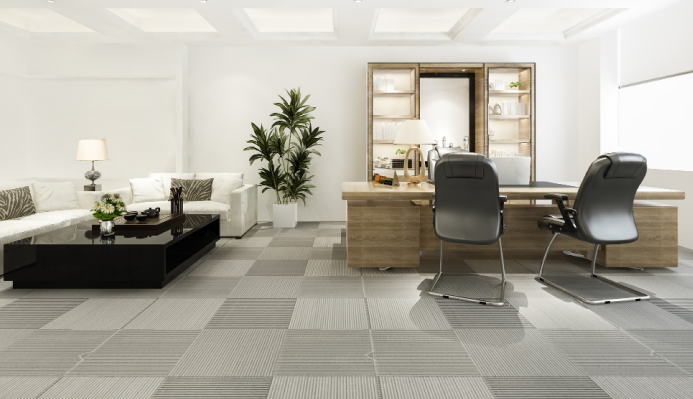
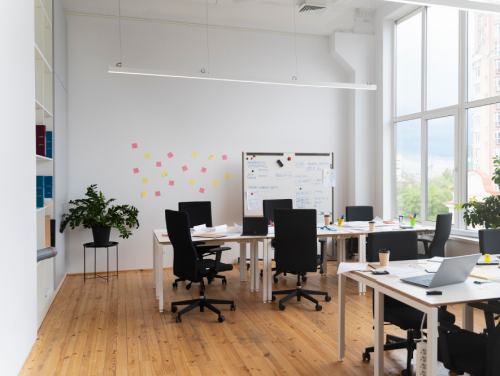
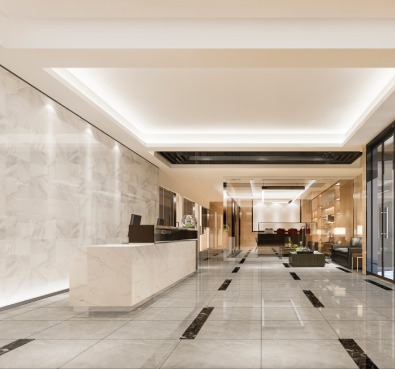
Flooring for Business
Full-Service Commercial Flooring Solutions
We serve businesses of all sizes from corporate and healthcare facilities, to small businesses, and property management groups.
Contact UsFeatured In
Ready to get started?
Schedule your Free In-home estimate